
How to create Lego art with Phantasm and Adobe Illustrator
4 minute readThe little colored bricks are more than mere toys. Some artists create sculptures and paintings from them. Today we will create a portrait of Lego bricks in 5 simple steps, and Phantasm will help us with this.
Step 1
Here are some examples of lego art pictures from:
http://inspirationist.net/lego-masters-of-painting-by-marco-sodano/
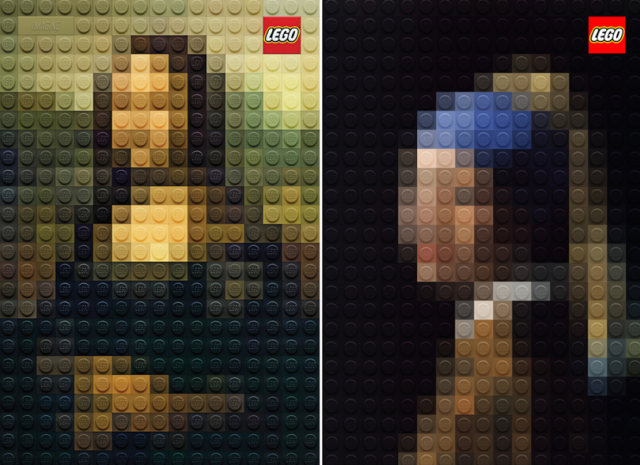
Even though portraits are not detailed, we can easily recognize them, because well-known works of art are chosen as the basis. For this tutorial we've used a colorful photo of a model taken from Adobe Stock to show you how you can apply this effect to your own images. Download your image and place it into a new Adobe Illustrator document.

Step 2
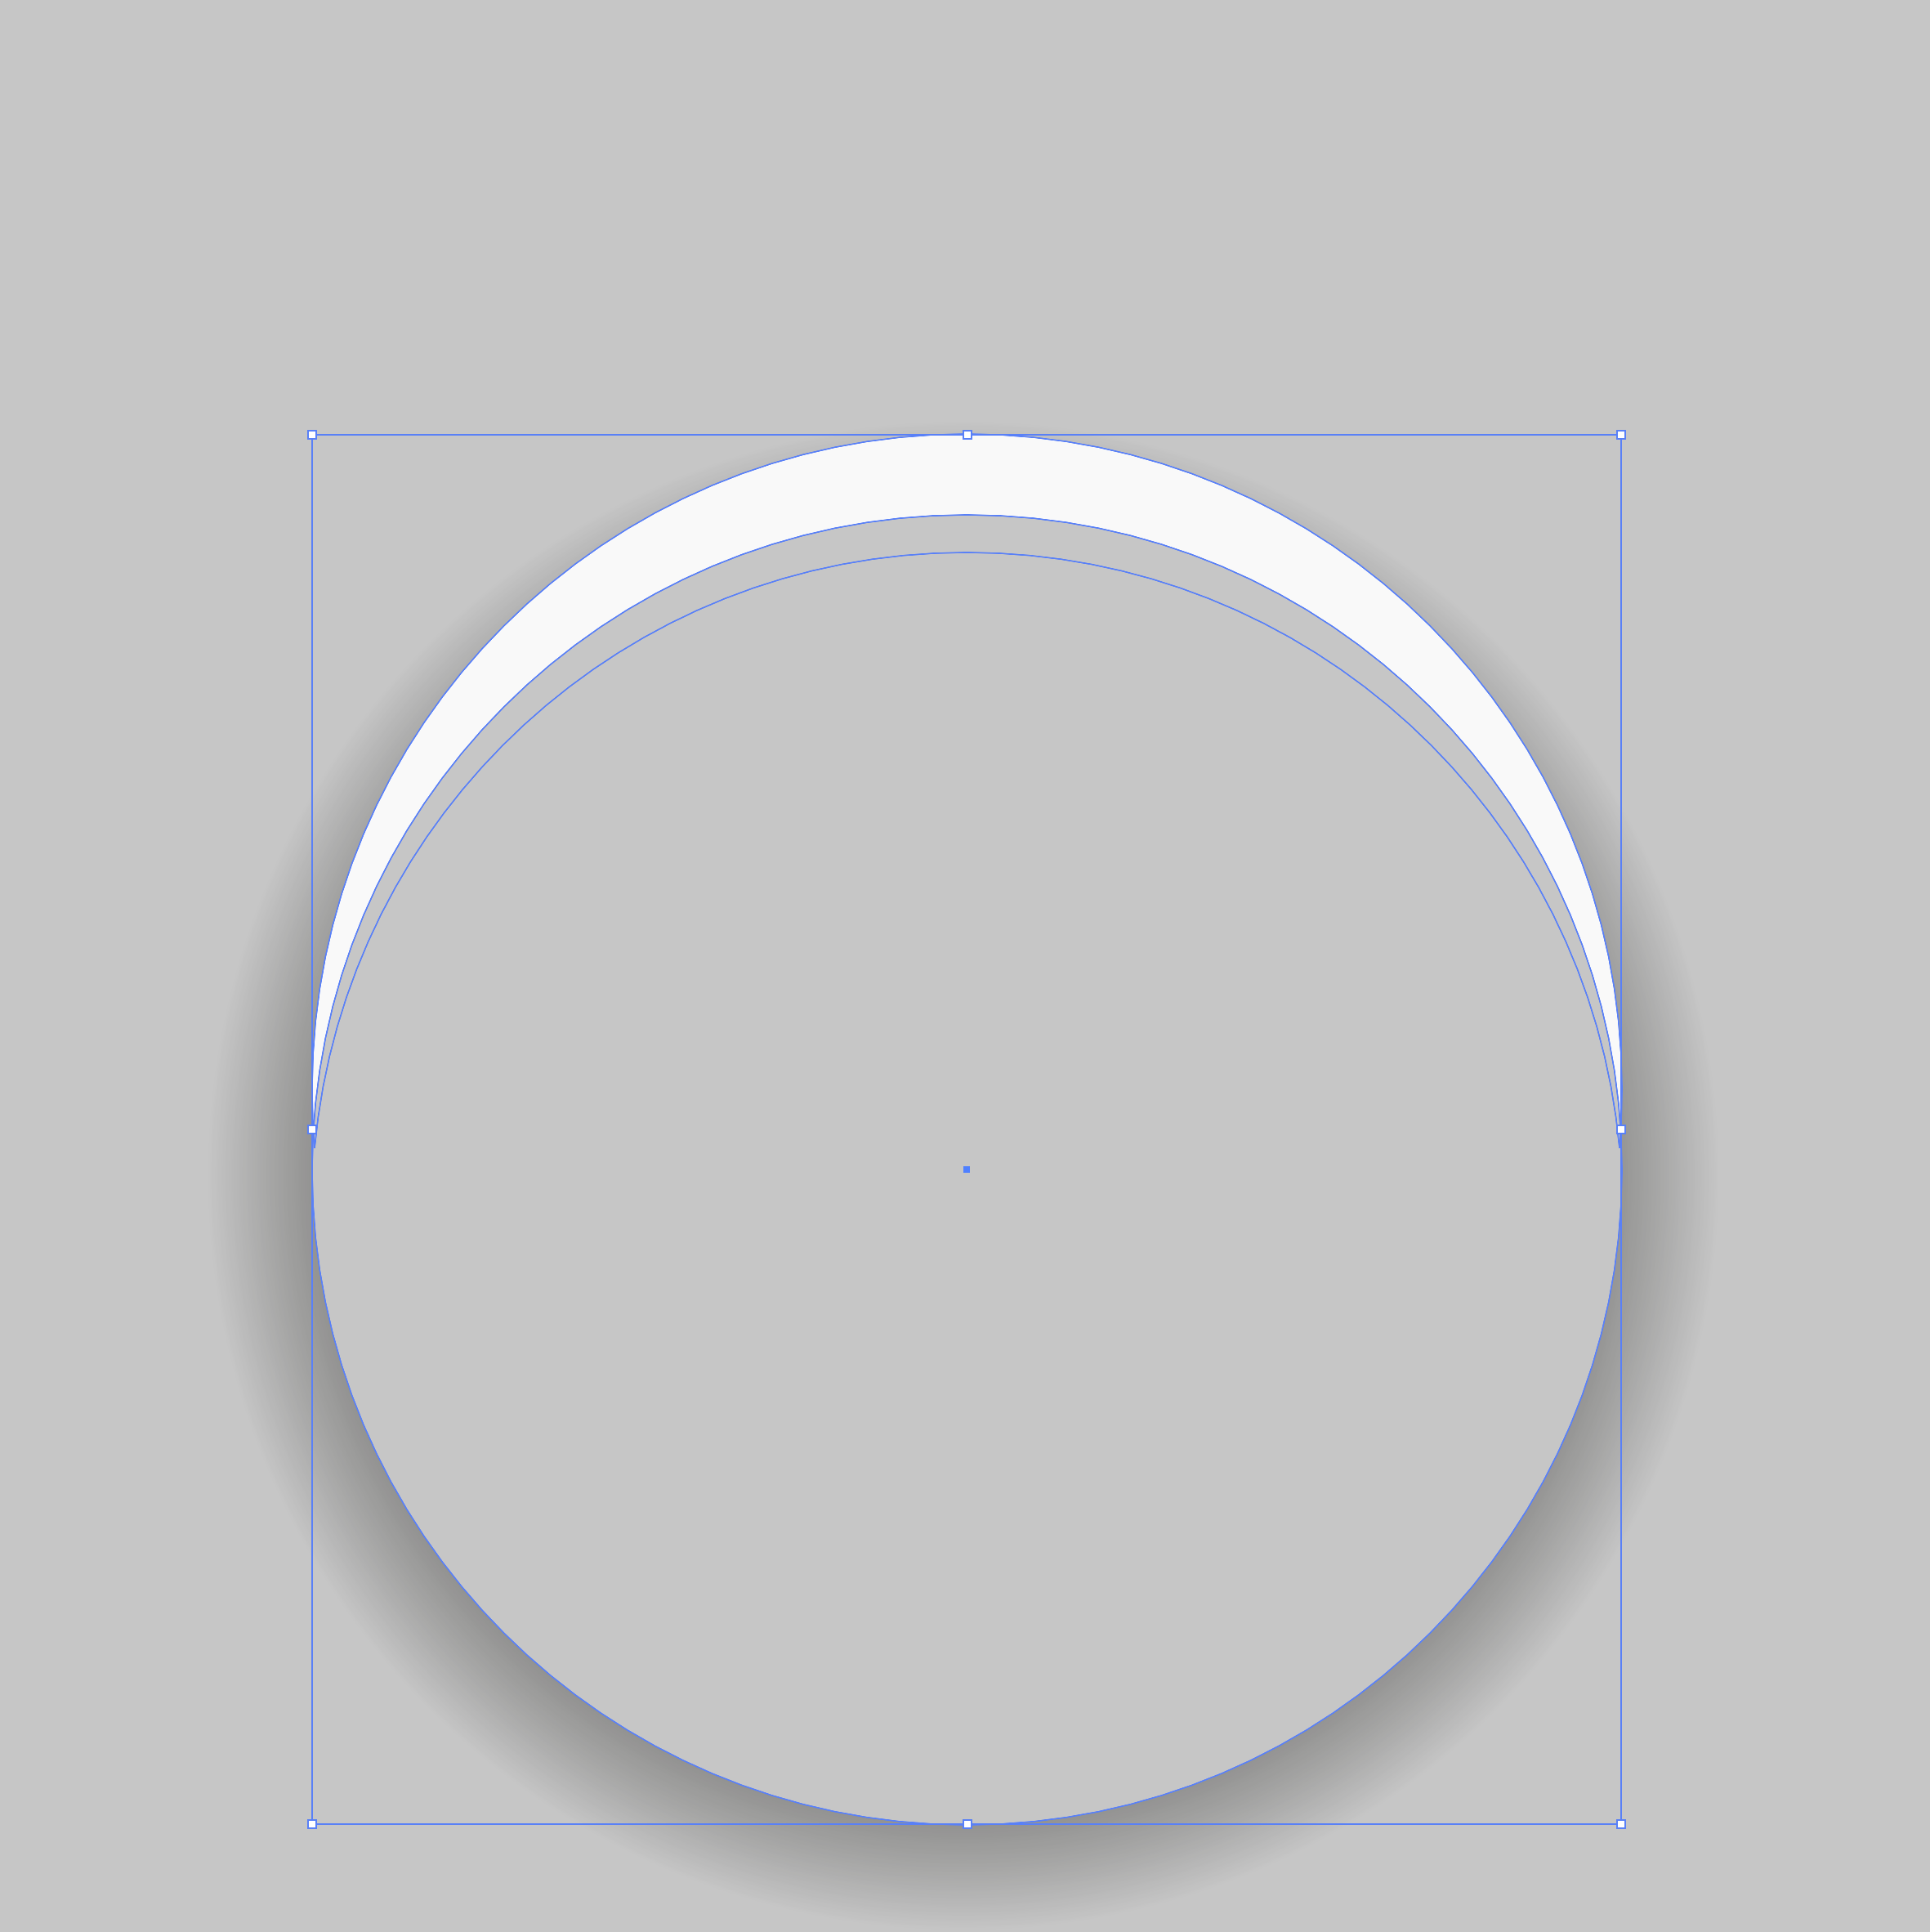
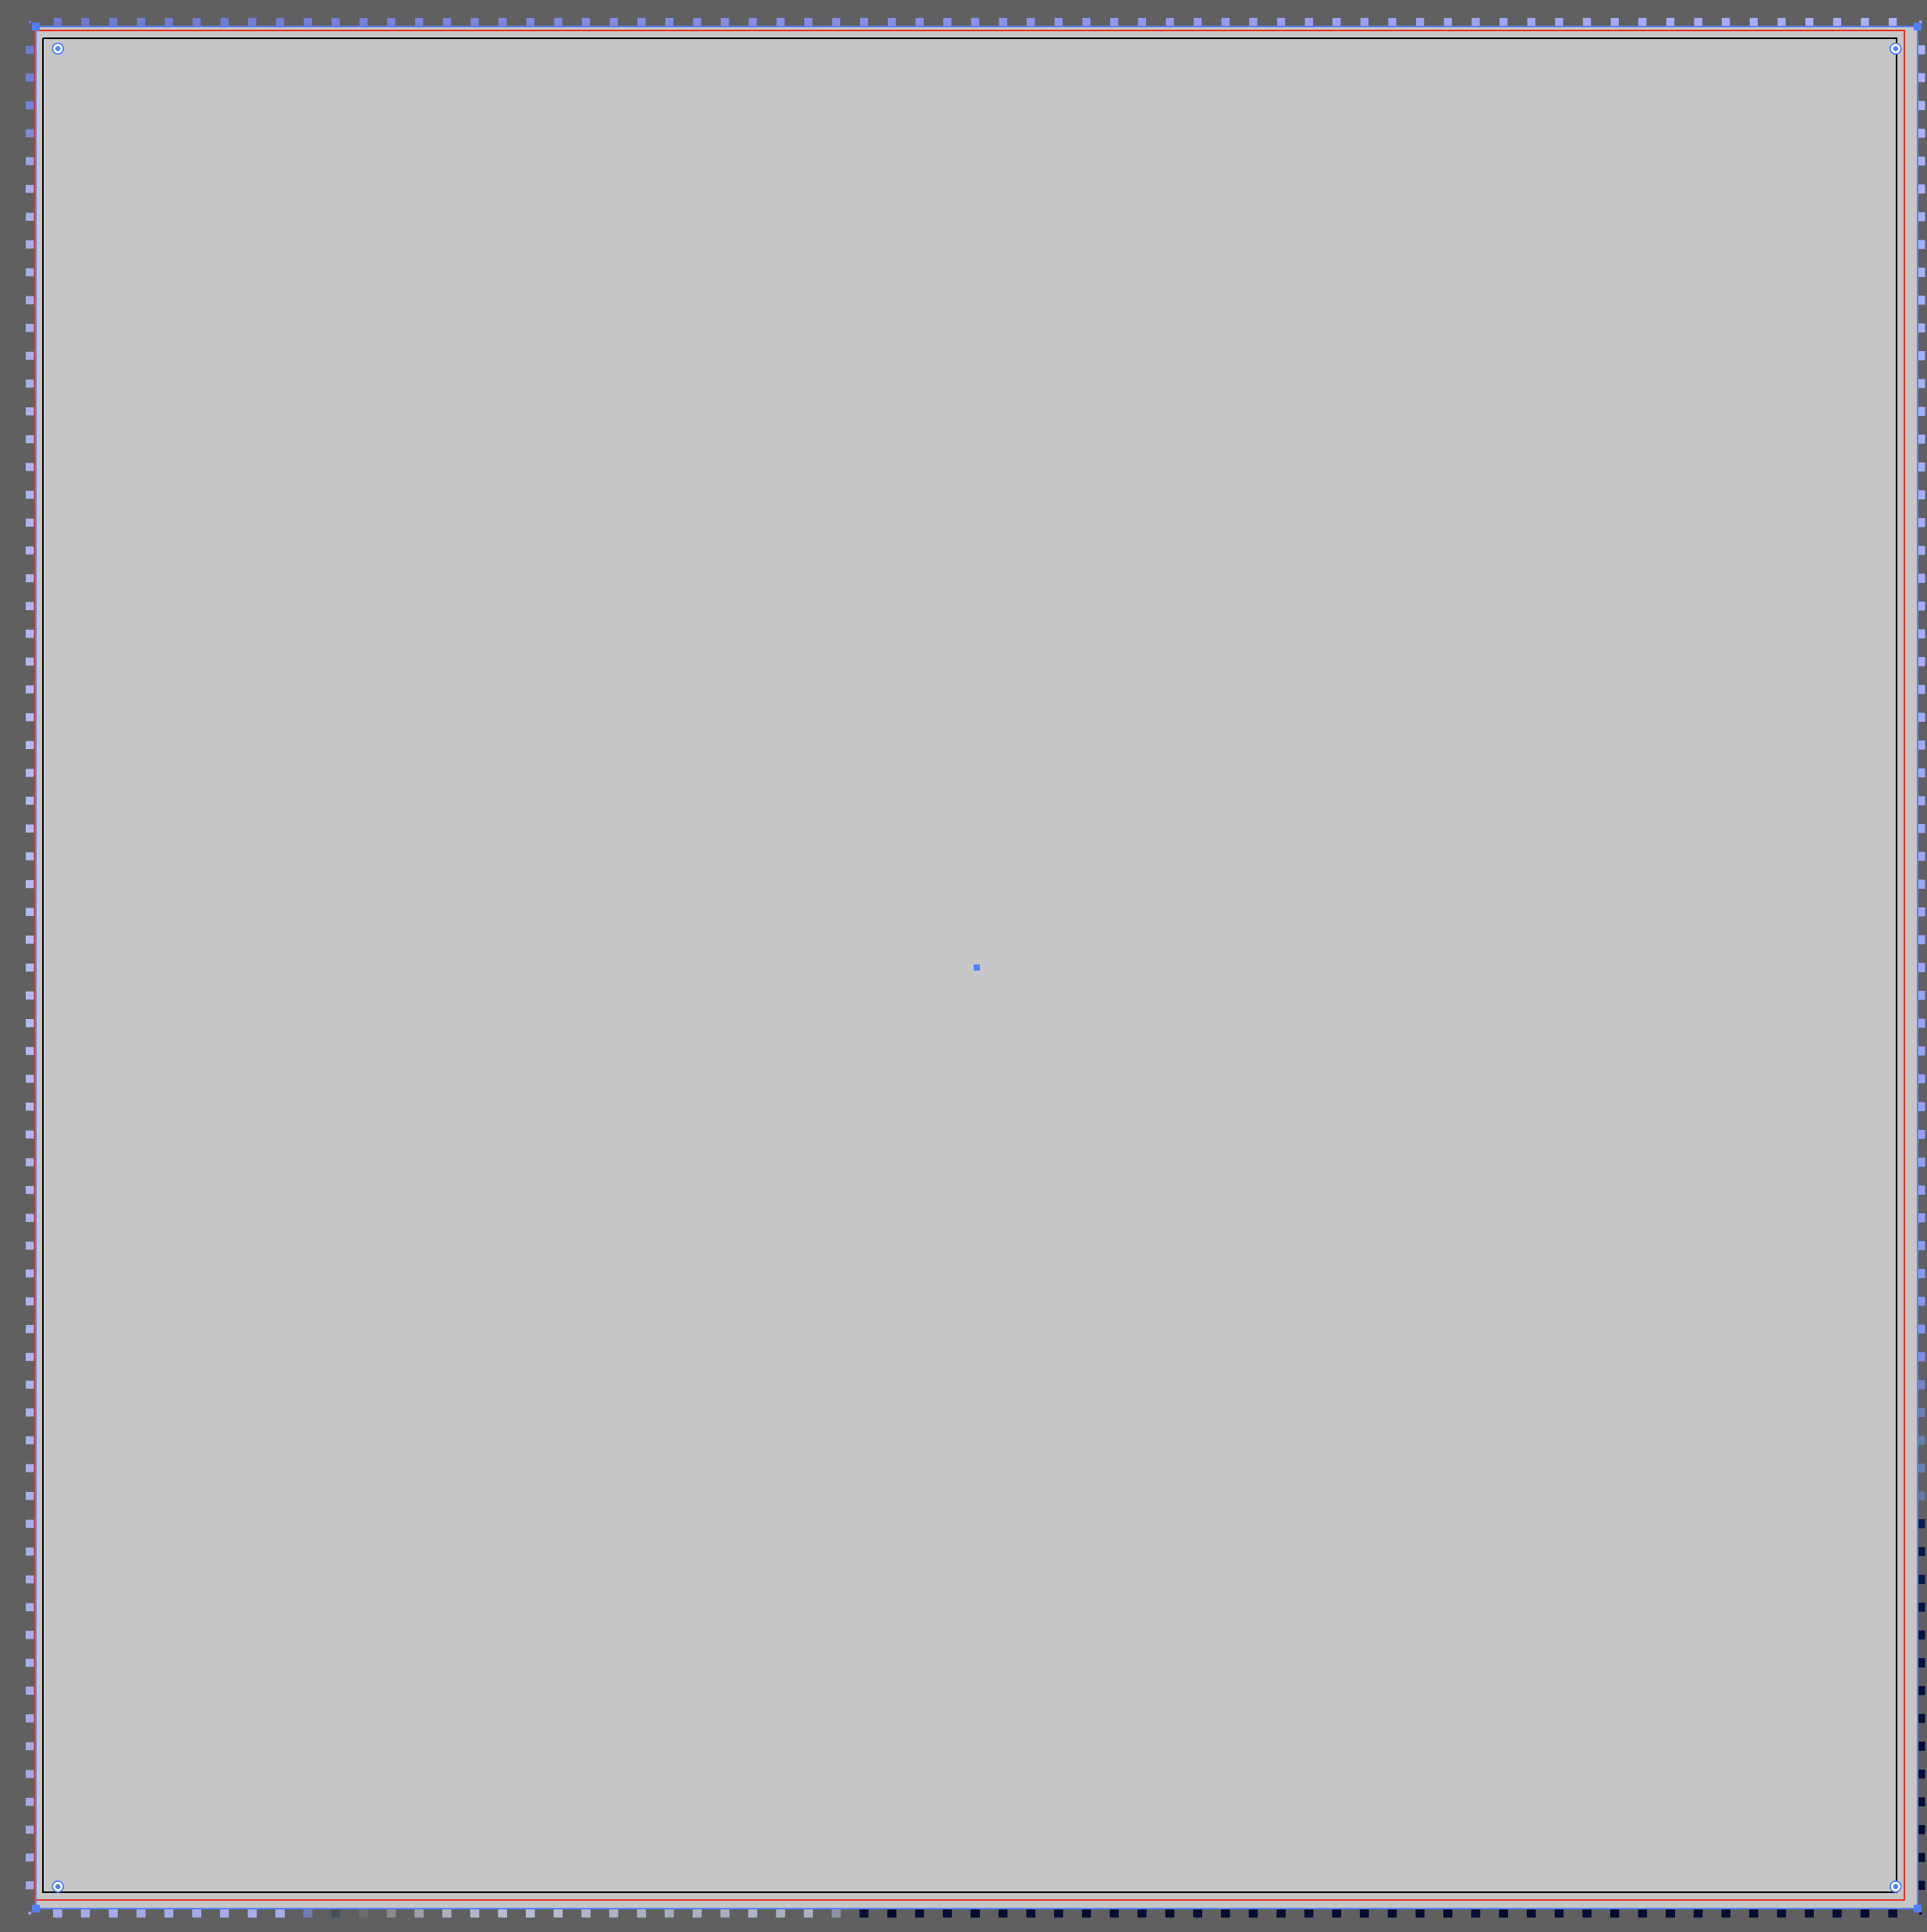
Let's start creating a cube. Draw a square of gray color (K = 30) and a circle with a radial gradient fill from black to white. Objects should be located as shown in the picture below.
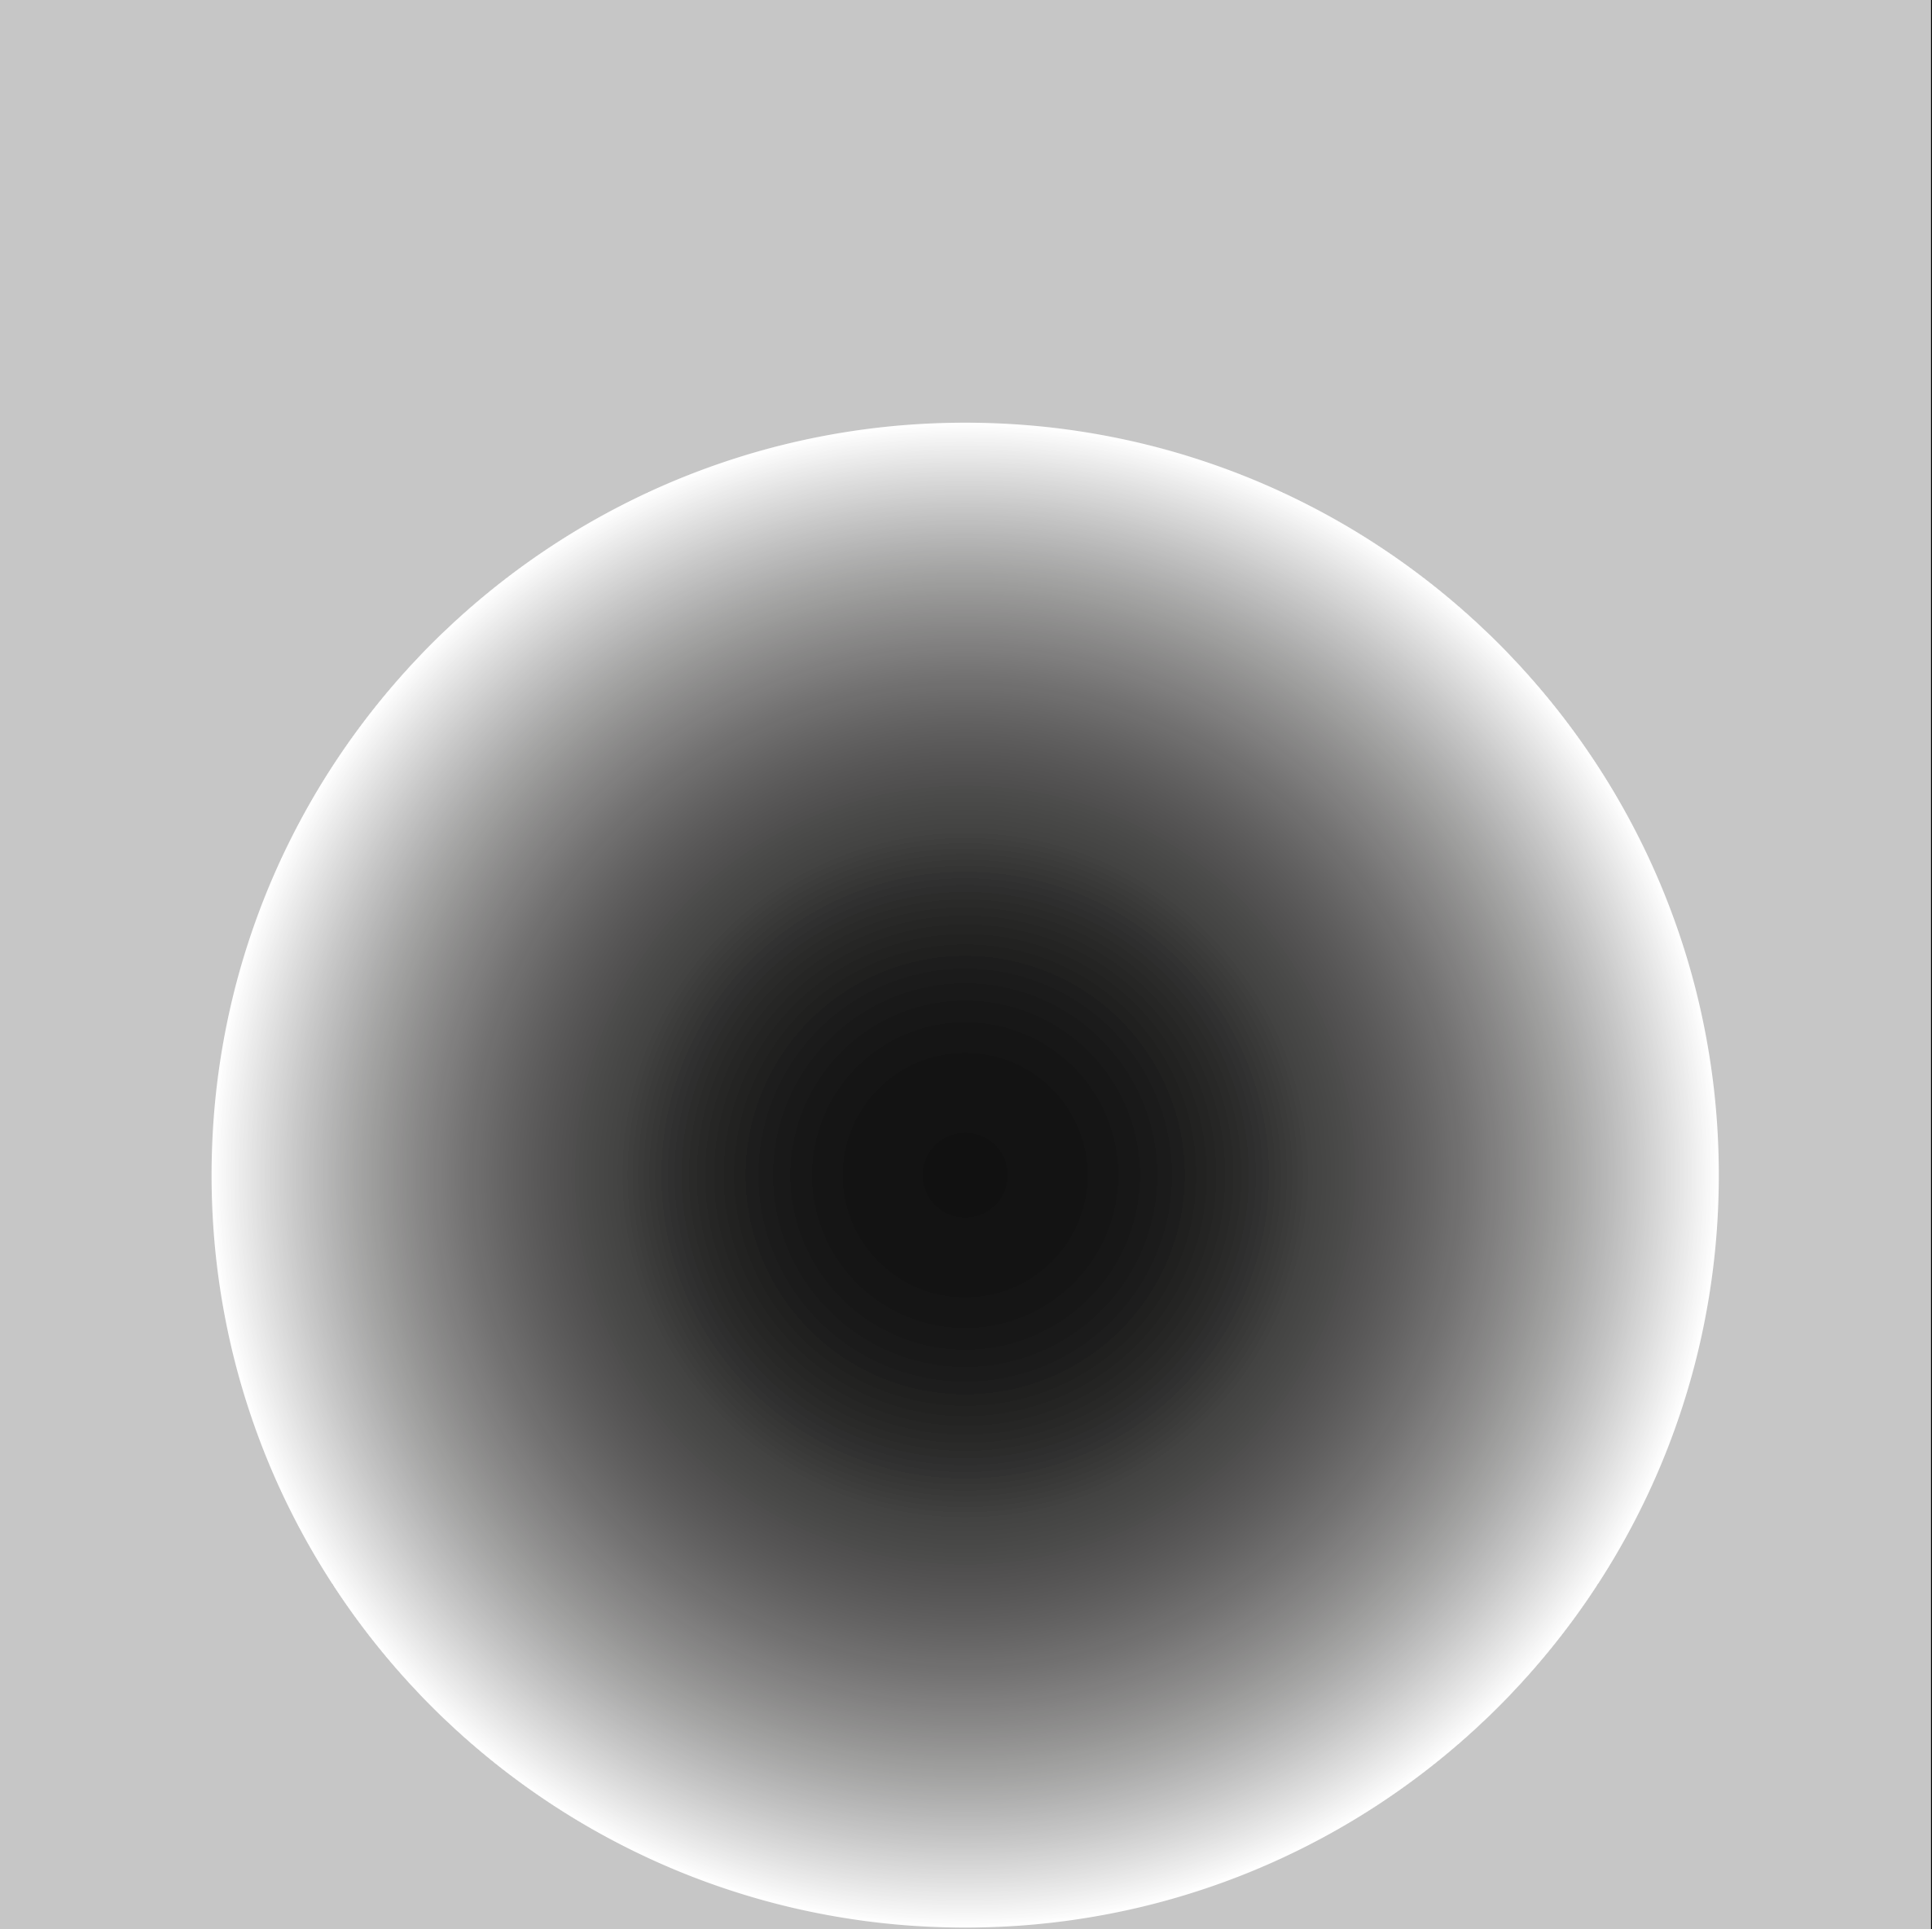
Apply the Multiply blending mode to the circle.

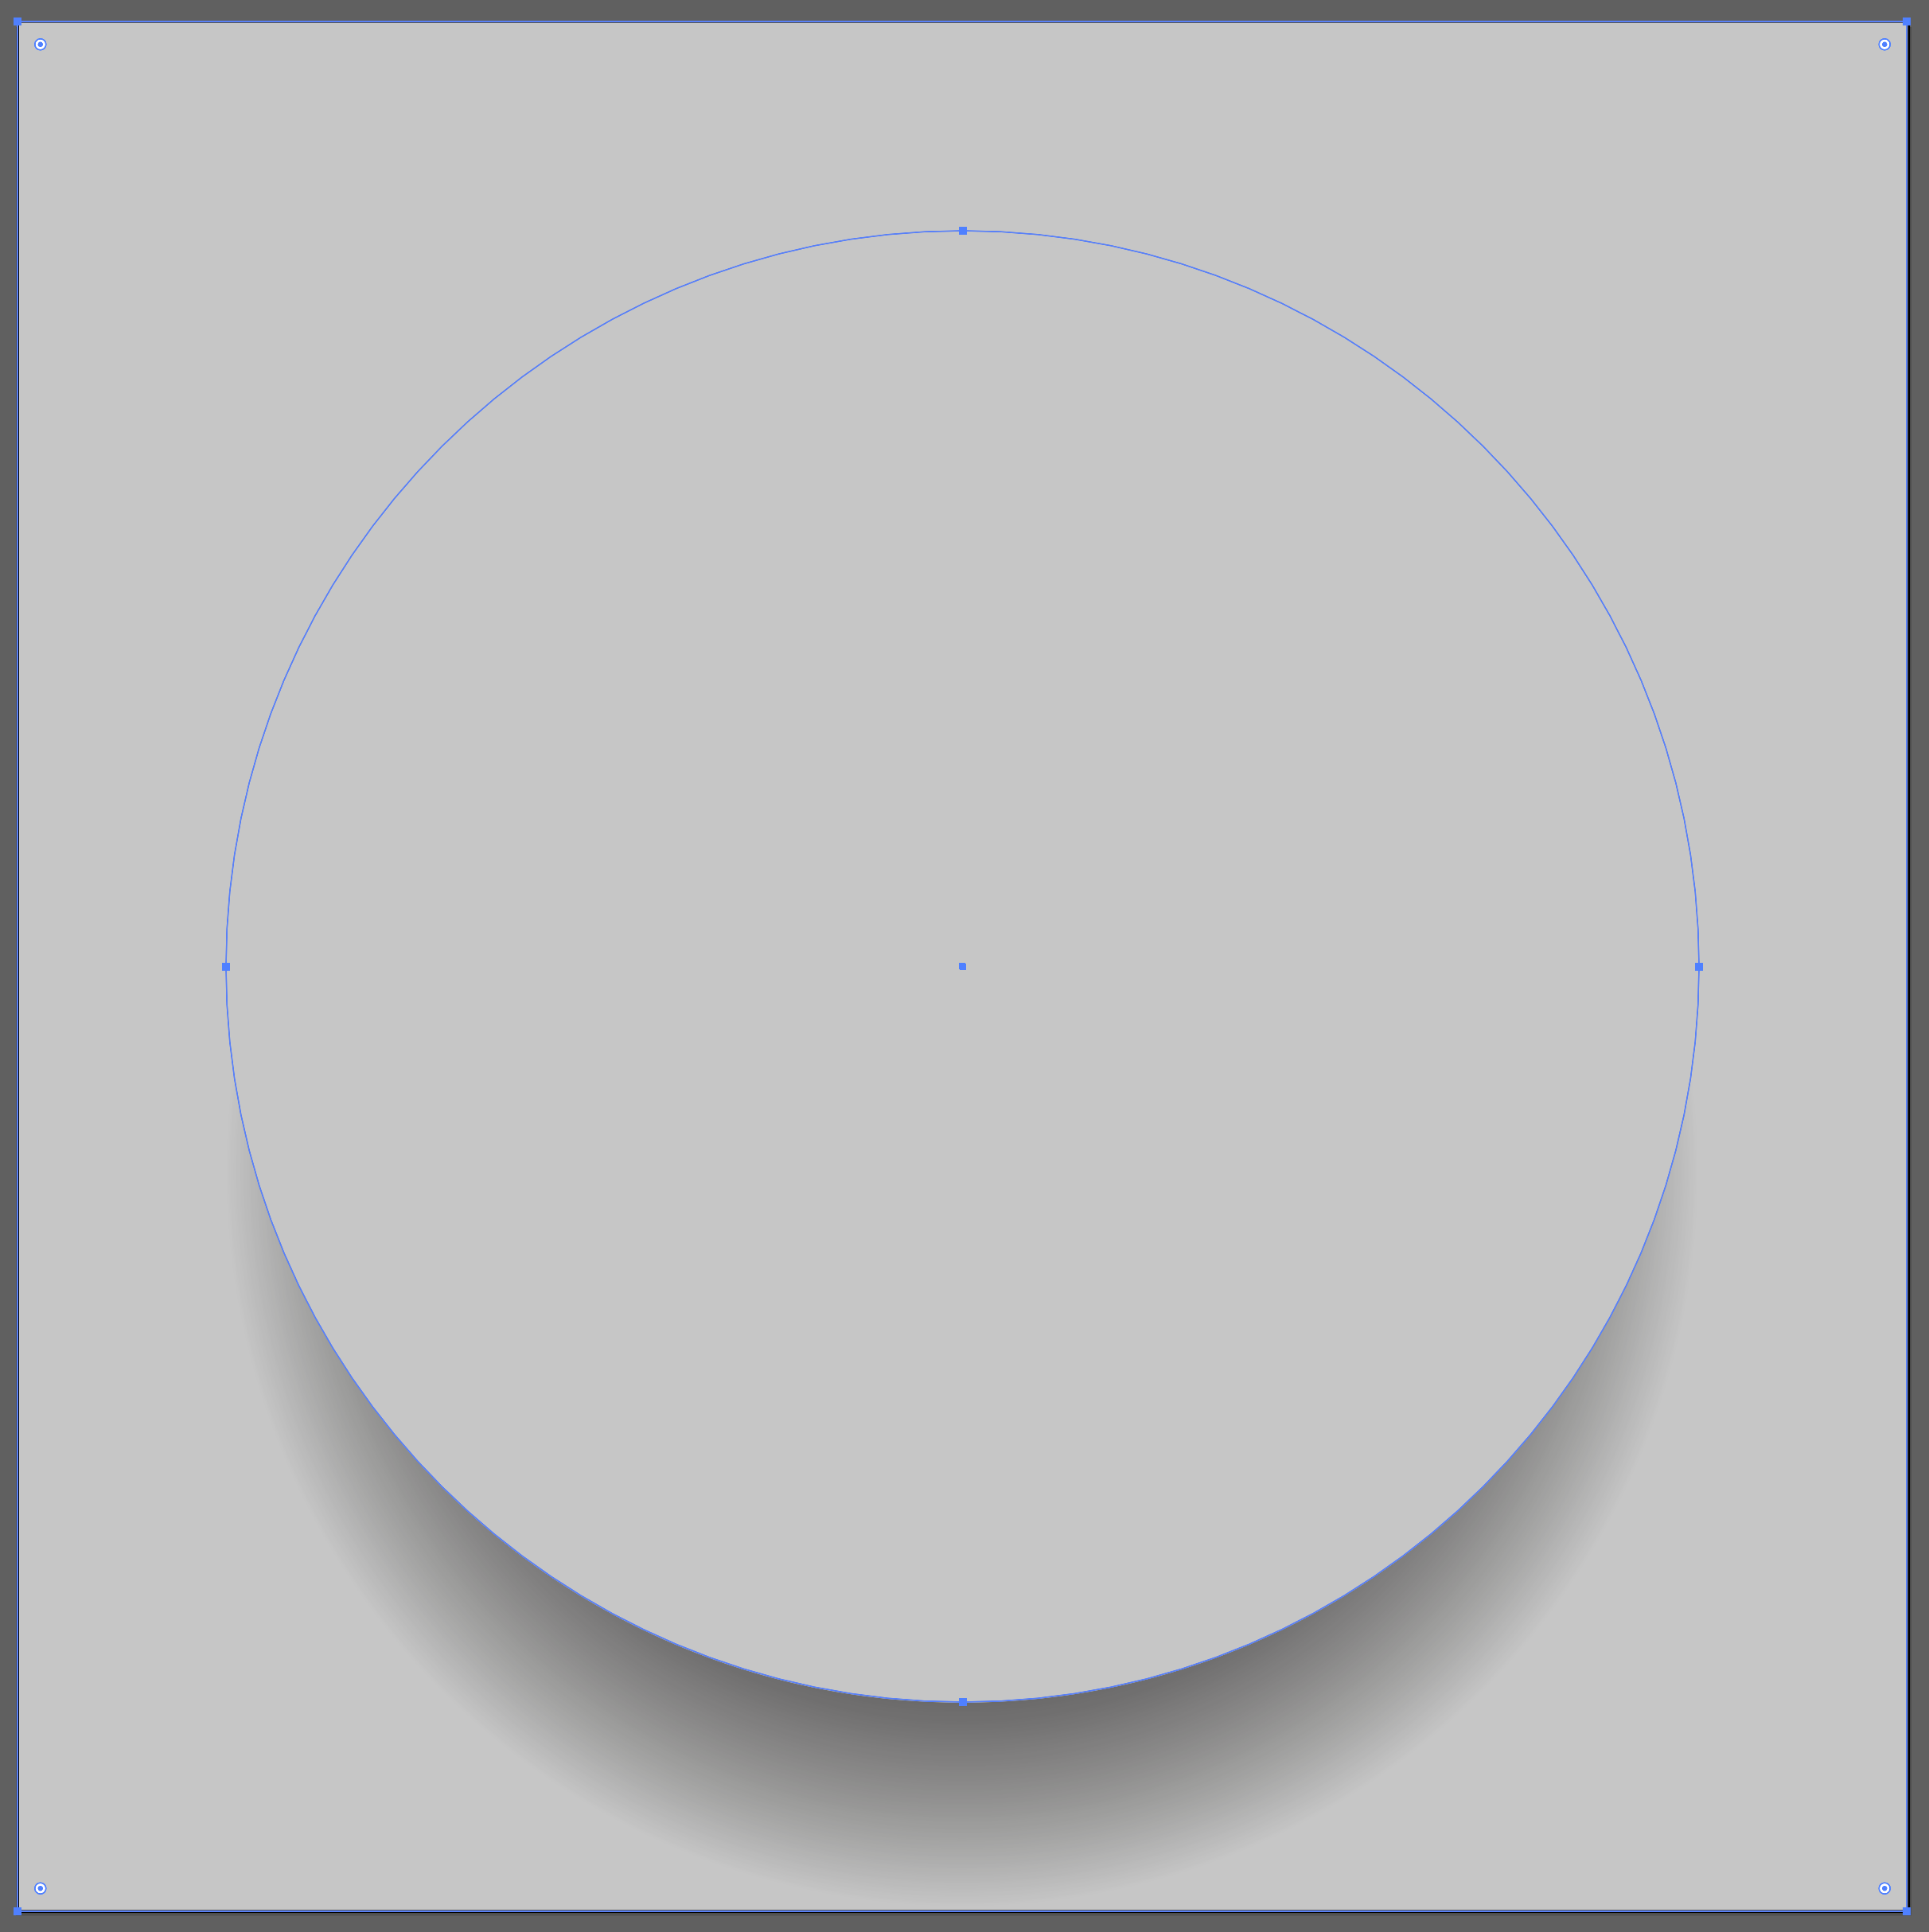
Draw another circle with a gray fill (K = 30) and place it in the center of the square.
Now create a glare. Such a shape is obtained by displacing two copies of the upper circle and applying Minus Front command in the Pathfinder panel. Fill the glare with a light gray color (K = 3).
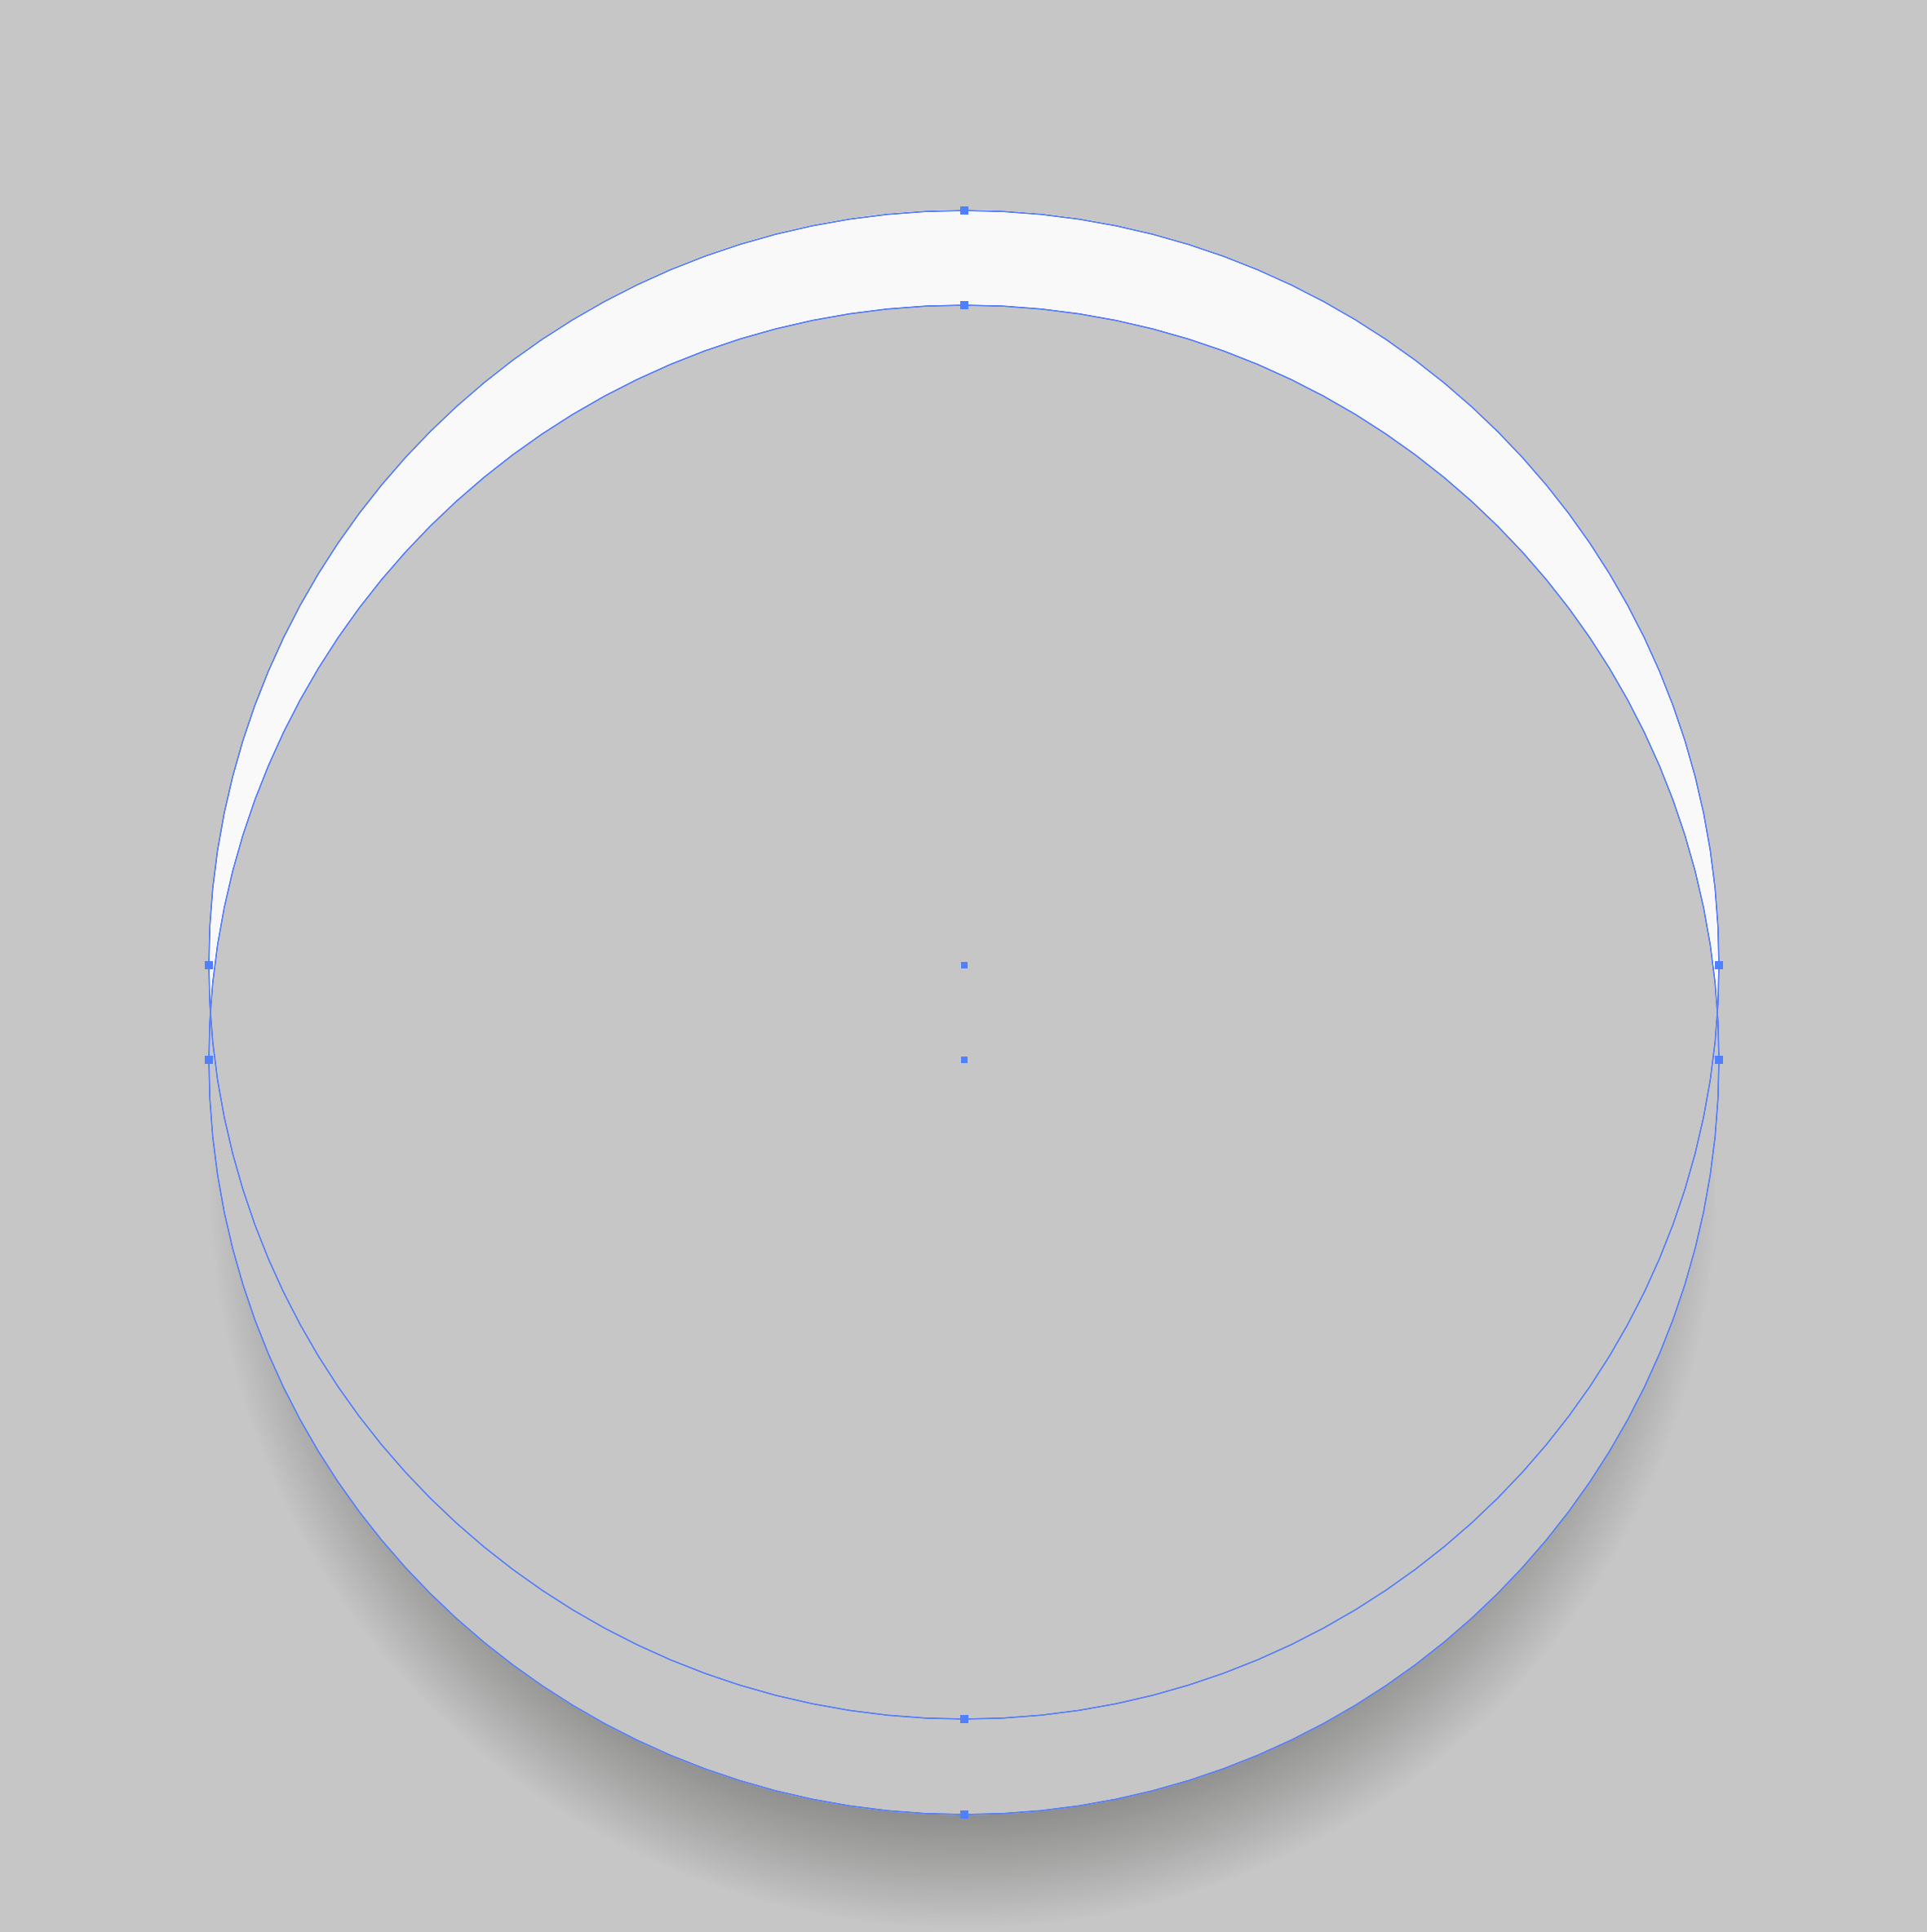
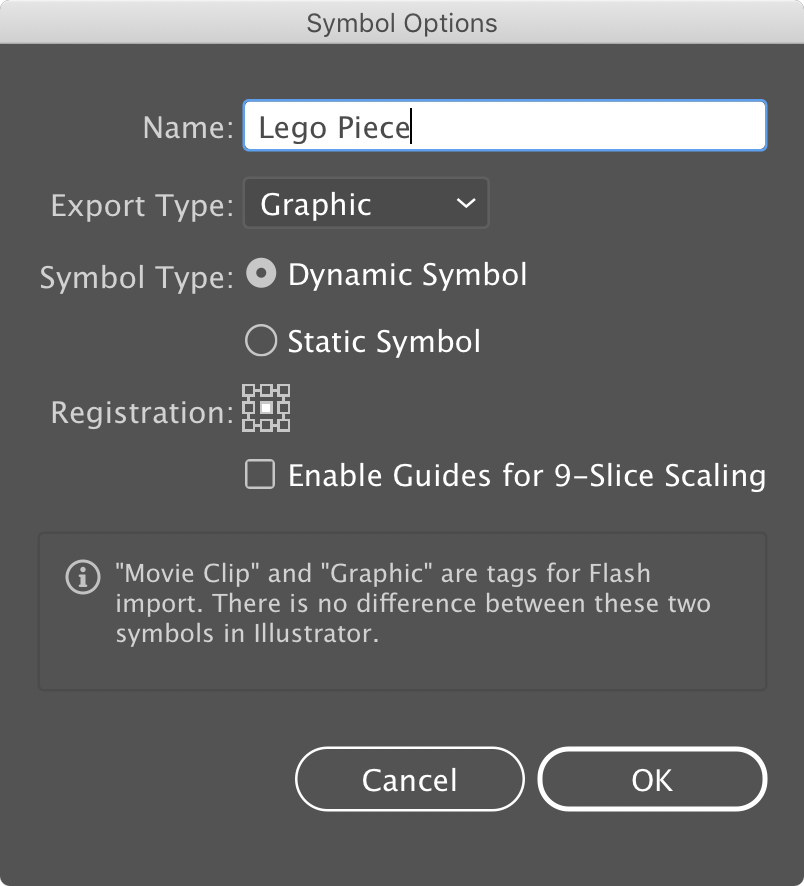
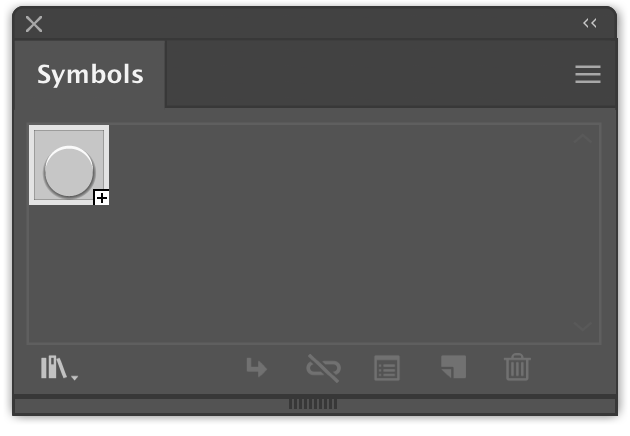
Move all the created objects in the Symbols panel.
Step 3
Apply the Phantasm Halftone effect to the raster portrait by clicking on the corresponding button in the Phantasm panel
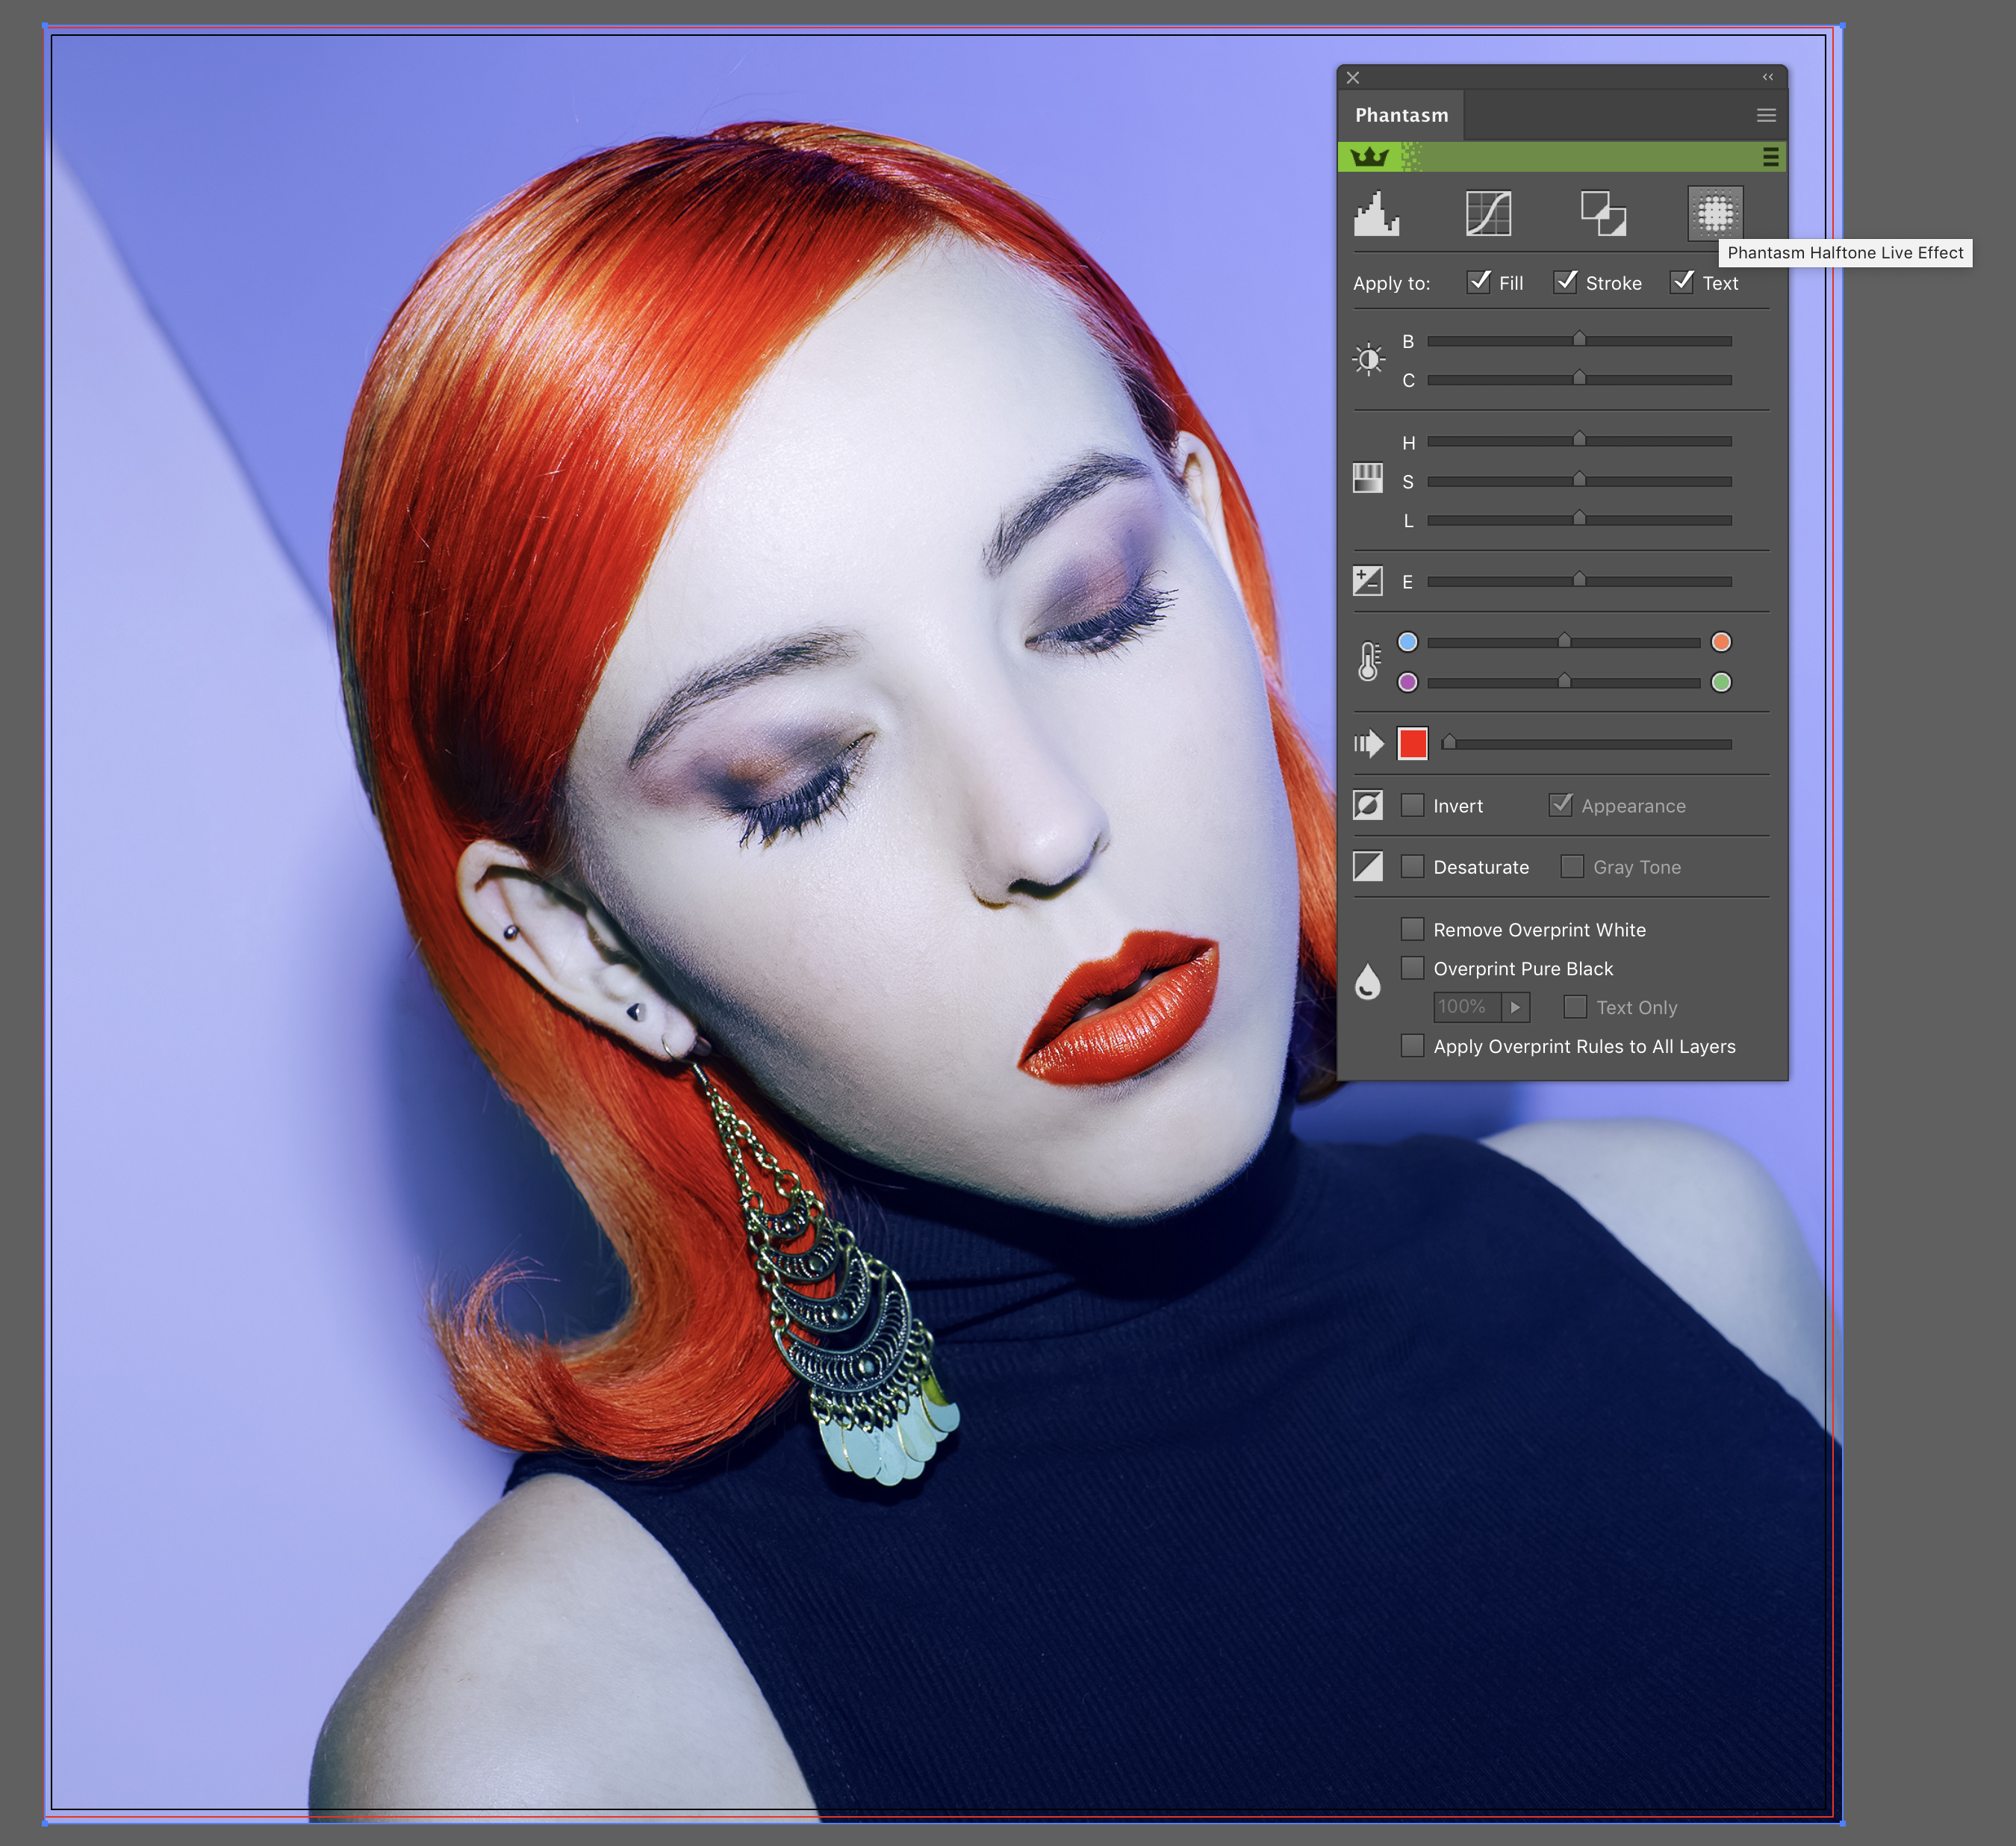
The effect parameters are shown in the picture below.
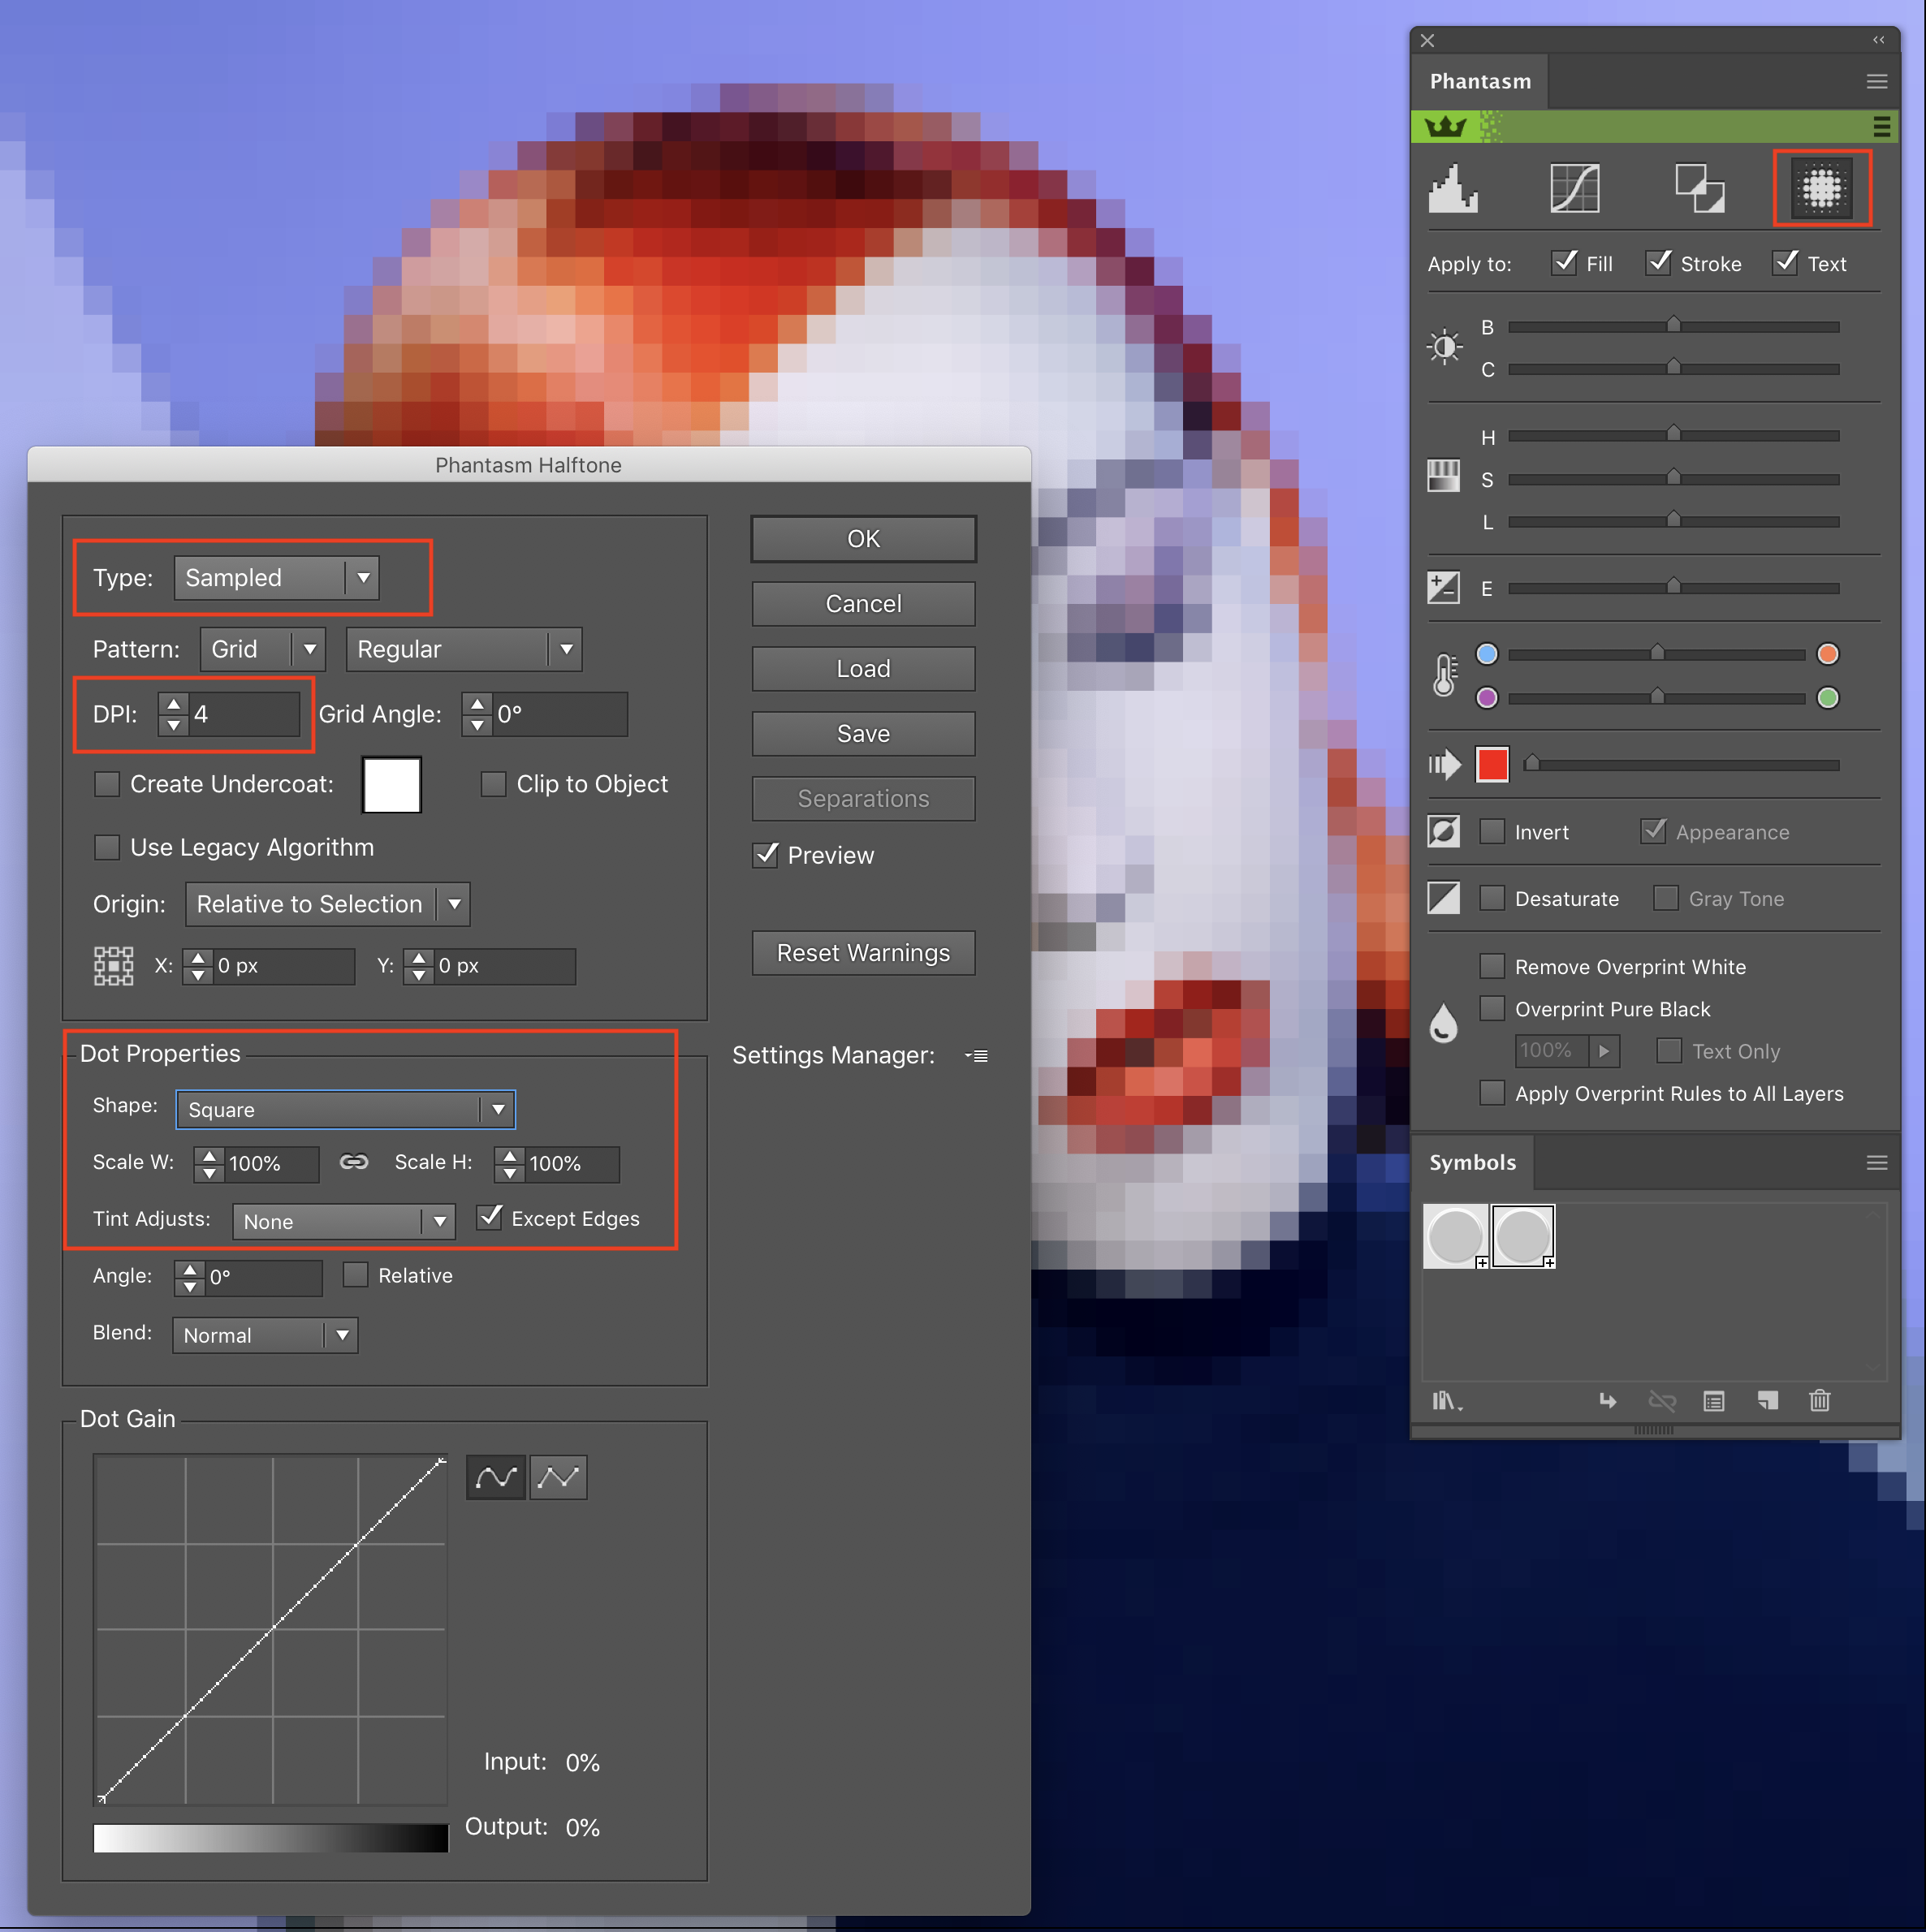
As a result, we have a portrait which consists of colored squares.

Step 4
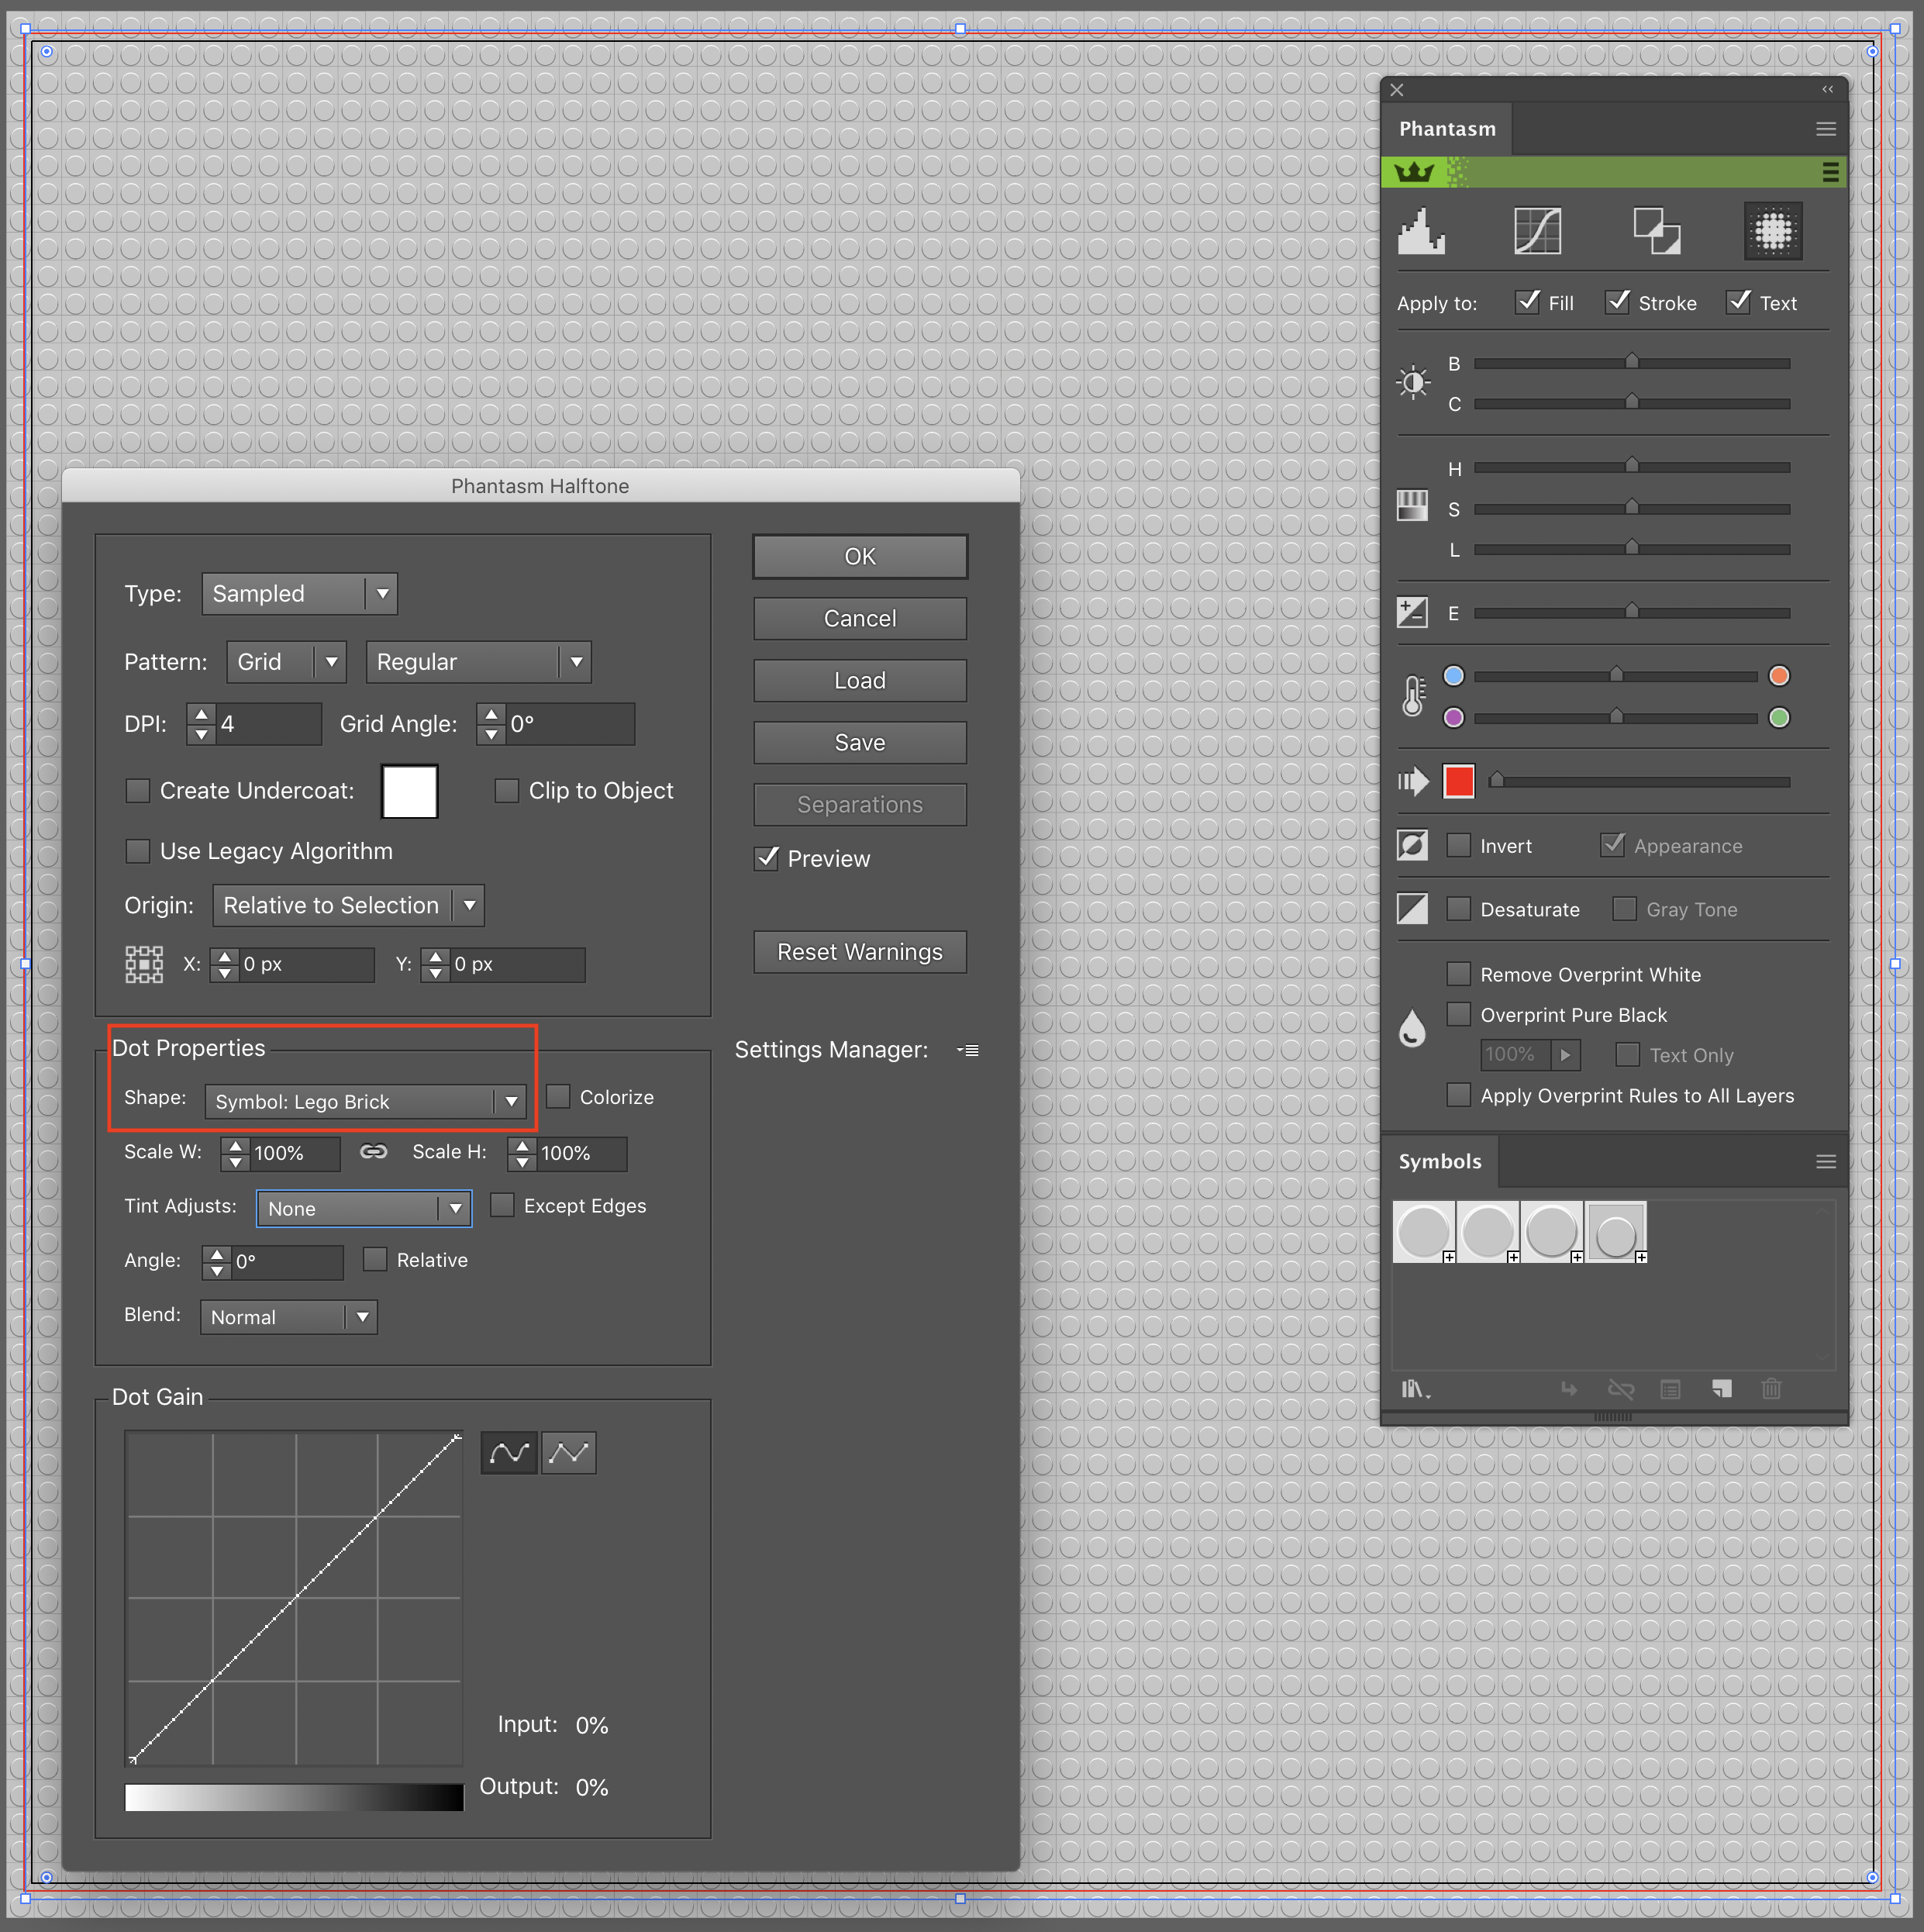
Now create a new rectangle above the portrait. The fill color of this rectangle does not matter. Apply the Phantasm Halftone effect to this object. The parameters for this effect are the same as those of the previous effect, except that the New Symbol is selected for the Shape option.
Step 5
Apply the Multiply blending mode to the upper object.

FInally, you can adjust the brightness and contrast within Phantasm if you want to adjust the colors further. Then click OK.
Now the Lego art portrait is ready.